

Included hardware:(2) 5/16”-18 Stainless Hex Head,(1) M6 Serrated Flange Nut,(2) M8 x1.25mm Thread
Hex Head,(1)M6 x 1mmx 25mm Button Head,(1) 1/2 -20-3/4 Butten Head, (2) 3/8” USS Flat Washer,(2) 18-8 Stainless Steel Washer, (4) Zip ties, (1) Small Mounting Bracket, (1) Big Mounting Bracket

With your hood open, start by removing the factory harness in the driver side corner,with a 10mm socket. If you’re installing on a GX460, there may be a plastic cover piece secured by (4) plastic clips you have to remove first before you can access the harness.

Some newer models have an additonal fuse box that you need to remove to manipulate slightly to get our bracket to fit over it. If your vehicle has the extra fuse box, as shown below, you need to remove it and cut the flange off as marked with a sharpie below. Once the corner is cut, re-install back on loosely for now using the factory threaded holes.

Once the factory harness is removed, place the provided smaller bracket in its place in the orientation shown below, with the factory harness back on top. Then Thread in the
M6 x 1 Button Head
to secure the harness to the bracket seen by the red arrow. Then take the provided M6 button head and flange nut and secure them in the slot on the end of the bracket, seen by the white arrow.

There should be plenty of room to reach up into the wheel well with the nut to access the M6 bolt, once started you can then tighten with a 4mm hex seen by the red arrow.

Take the (2) provided M8 hex head bolts and thread them into the factroy threaded holes just above the fender, leaving about 1/4” out. At this time secure your compressor to the larger provided bracket before installing any further. After your compressor is secure to the bracket, slide it over the M8 bolts in the orientation shown below.

Once the bracket is slid over the M8 bolts, take (2) of the provided 5/16” hex head bolts and 3/8” washers and thread them into the nuts see by the red and white arrow below. You may need to make some minor adjustments to get the holes to line up on the bracket to thread the bolts through.

With the 5/16” bolts tight in the nuts seen by the red arrow, take a 13mm ratchet wrench and tighten the M8 bolts in the side of the fender through the top window on the bracket as shown by the white arrow.

Before completing your install, ensure that all of your hardware is tight and if you have any tubes or hoses touching the bracket you may need to use the provided zip ties to adjust the hoses or tubes out of the way to prevent rubbing.

HELP CENTER
Articles & Guides
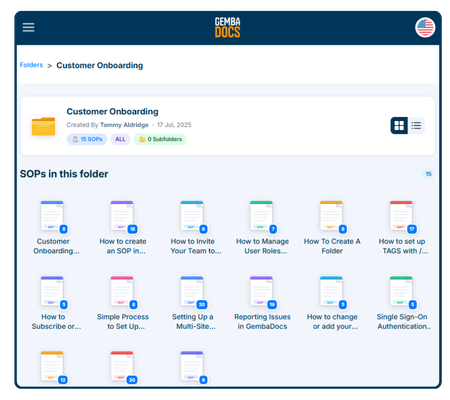
GembaDocs Onboarding SOPs
15 Min - SOPs, Guide

New: How to Create, Assign and Track Training Courses
6 Min - Guide

Learn GembaDocs
2 Min - Guides and Video
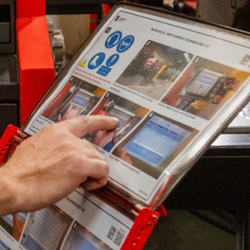
SOP vs Advanced SOP Guide
10 Min - Guides and Video
Explore
Support Hub
Lean Cave
GembaTalk
More Resources
Bugs & Improvements
Suggest an improvement, or report a bug, direct from the app/platform.
API Documentation
Connect GembaDocs with external systems