
Step by step on how to install the Jeep JK Roof Rack. Please read all steps carefully before starting the install.
Installation Video: https://www.youtube.com/watch?v=p50b5nj_flY
Questions or Support:
Phone: 269-353-1184
Email: info@jcroffroad.com


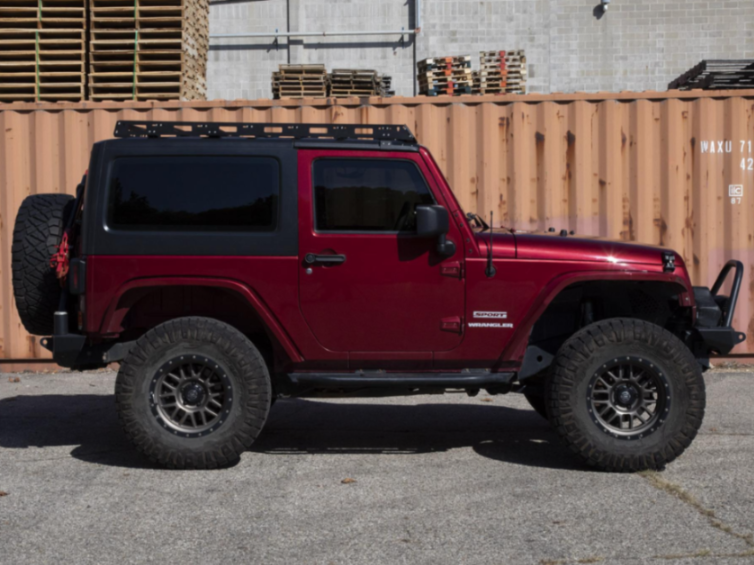
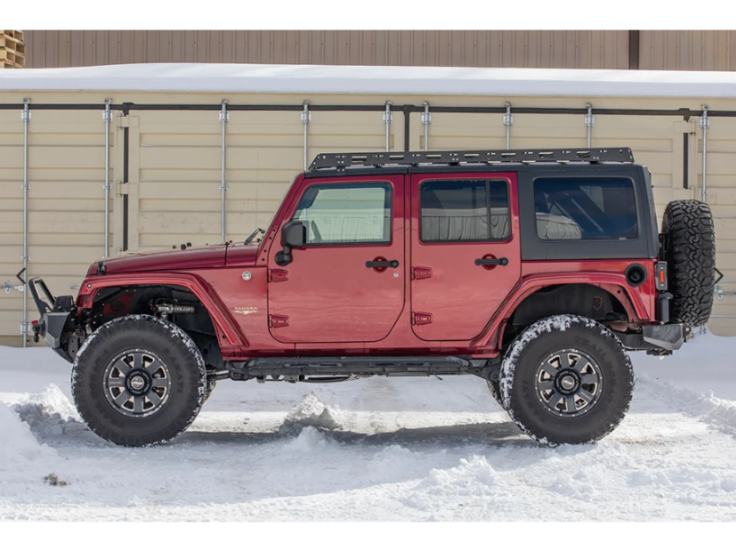
Step by step on how to install the Jeep JK Roof Rack. Please read all steps carefully before starting the install.
Installation Video: https://www.youtube.com/watch?v=p50b5nj_flY
Questions or Support:
Phone: 269-353-1184
Email: info@jcroffroad.com

Check that you have all of the parts shown before starting.
*Note: for the 2 door version you will not be using all the hardware provided.
Remove the factory hardtop from the Jeep and set it aside. You will put it back on later to drill the mounting holes. Video timestamp: 0:26


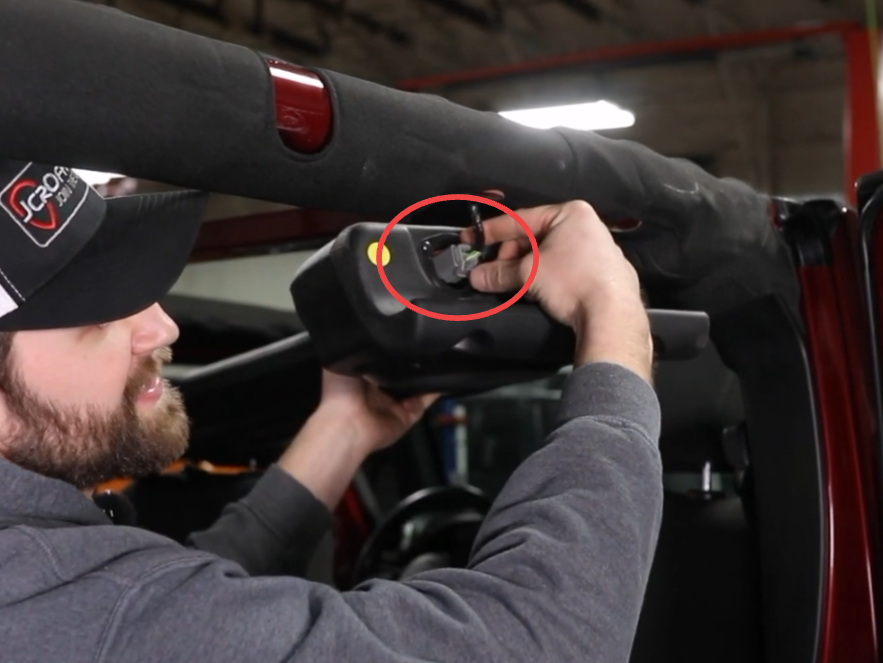
From the back seat, remove the sound bar. Stock grab handles use 10mm bolts: two on each side and two in the center. With the top off, the thumb screws are already out. Before you lower the sound bar all the way, unplug the wiring harness on the passenger side by pressing the thumb tab on the connector. Video timestamp: 0:34


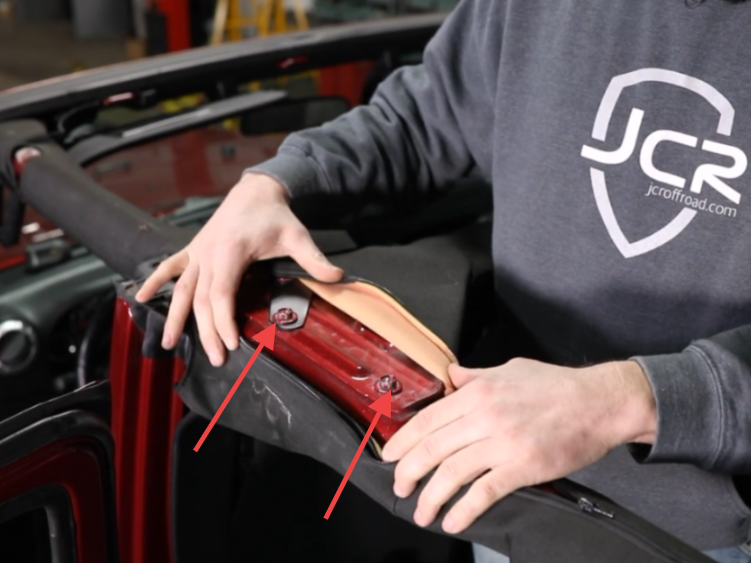
Unzip the roll bar padding at the mid mount location and remove the two factory 13mm bolts. If you have a Bestop bracket mounted on top of the roll bar here, leave it in place and set the JCR bracket right on top of it. Video timestamp: 1:16

The mid mount bracket installs with its face up and toward the rear of the Jeep. Cut two slots in the roll bar padding for the bracket tabs to pass through, one for each bolt. Each slot sits about 1 in. back from the edge of the zipper and is about 1-1/4 to 1-3/8 in. long. Mark them with a tape measure and cut with a sharp razor blade. Video timestamp: 2:03

Slide the bracket tabs through the slots, line them up with the bolt holes and reinstall the two factory 13mm bolts. Tighten them down. Leave the padding unzipped for now. Repeat on the other side. Video timestamp: 3:28

The rear mount bracket installs with the bent flange and bolt holes facing toward the rear. Open up the padding at the rear mount location and remove the two factory bolts. Video timestamp: 4:03


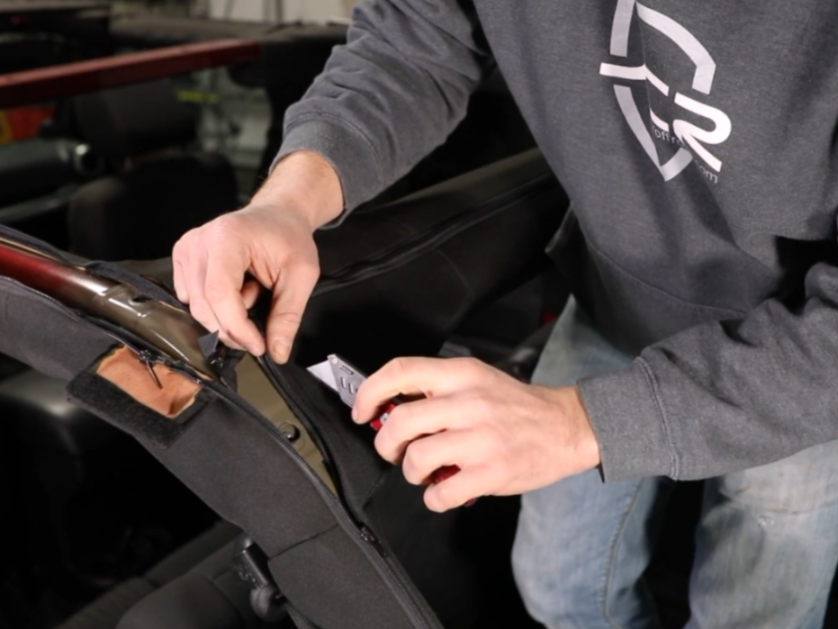
Cut two slots in the padding the same way as the mid mounts. They still sit about 1 in. back from the zipper, but the front slot is about 2 in. long and the rear slot is about 2-3/4 in. long. Cut the slots slightly inside any existing slits so the bracket sits flat on the metal, not on the padding. If an aftermarket bracket is mounted in this spot and gets in the way, remove it. Video timestamp: 4:49

Slide the two bracket tabs through the slots and bolt the bracket down with the factory hardware. Tighten both bolts, then zip the padding closed and velcro it back in place. Repeat on the other side. Video timestamp: 6:03
Set the factory hardtop back on the Jeep so you can drill the mounting holes using the brackets as a guide. Video timestamp: 6:35

From inside the Jeep, put a 3/8 in. drill bit through each hole in the rear bracket. Center it in the hole and hold it straight front to rear and left to right, then drill straight up through the hardtop. A long bit makes it easier to see that you are straight. Video timestamp: 7:00


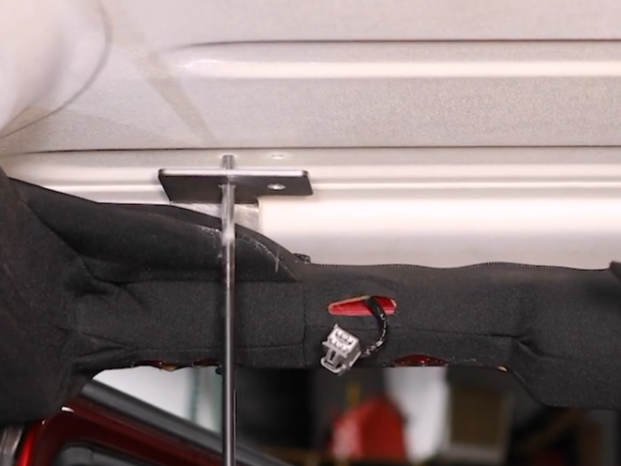
From the top of the hardtop, drill each pilot hole out with a 3/4 in. bit for the aluminum spacers. Be careful not to hit the bracket and scratch the powder coat. If you prefer, mark the holes, remove the hardtop to drill them, then set it back on and check alignment. Repeat for both rear brackets and both mid brackets (8 holes total). Video timestamp: 7:54


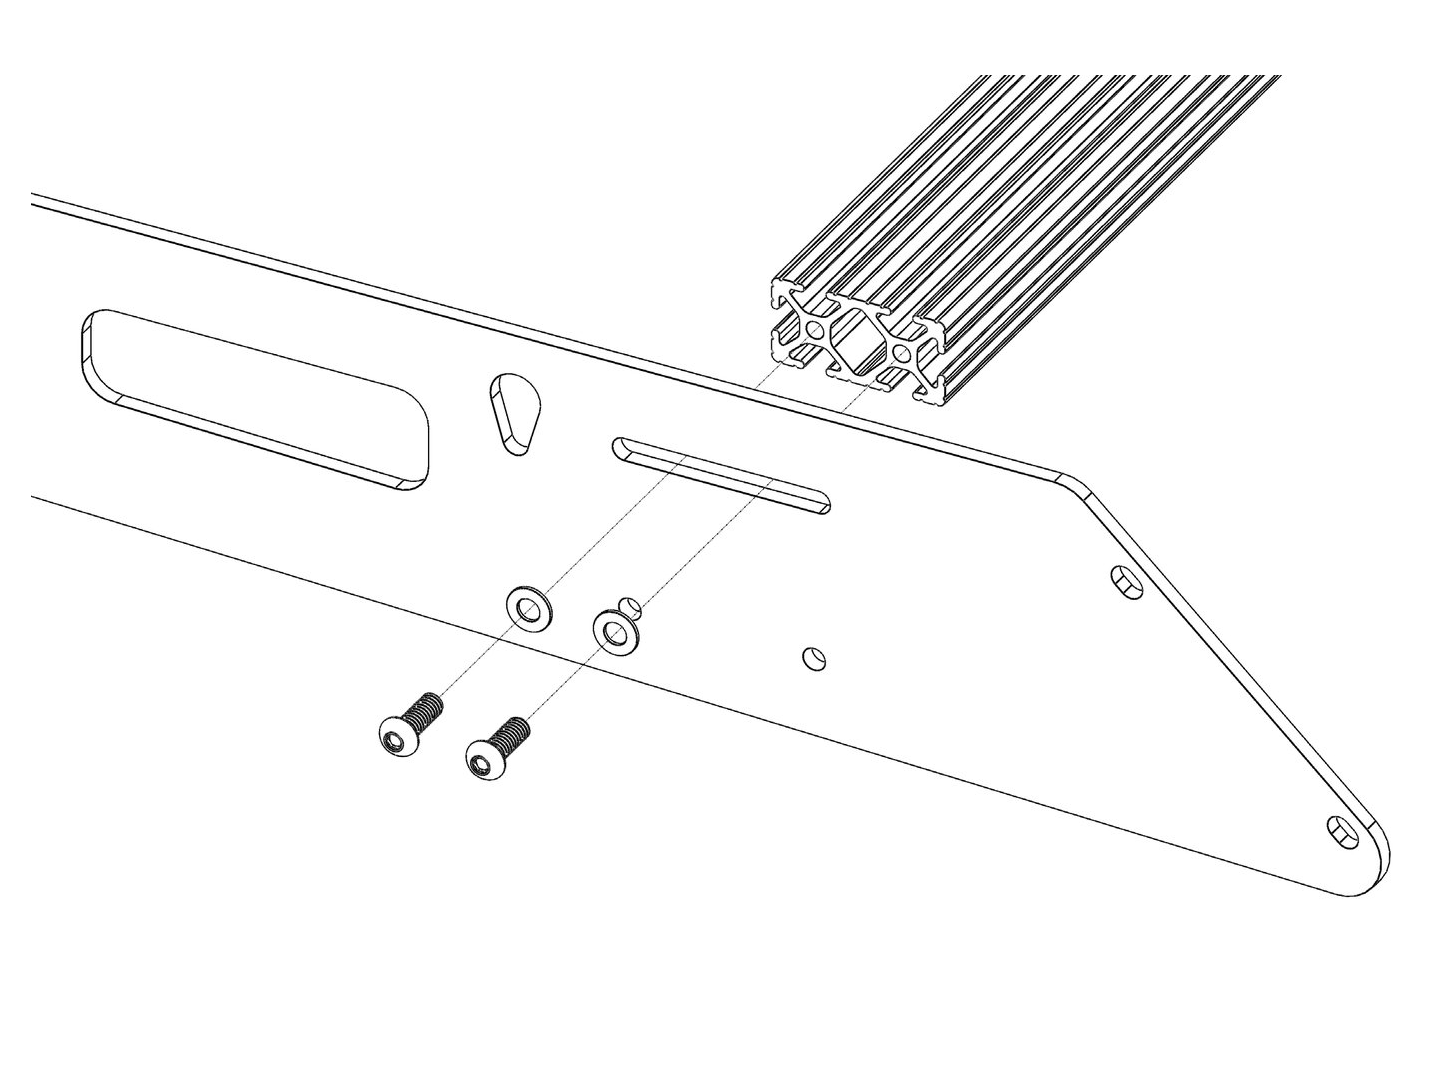
Lay all the rack parts out on the floor. Bolt each crossbar between the side rails with 1/4 in. button head bolts and washers, using a little anti-seize on each bolt. Make sure the milled t-nut slots in the crossbars face up and all face the same direction (usually the driver side). Snug the bolts with a 5/32 in. Allen, leave them slightly loose, center the crossbars in their slots, then snug them down. Video timestamp: 9:40


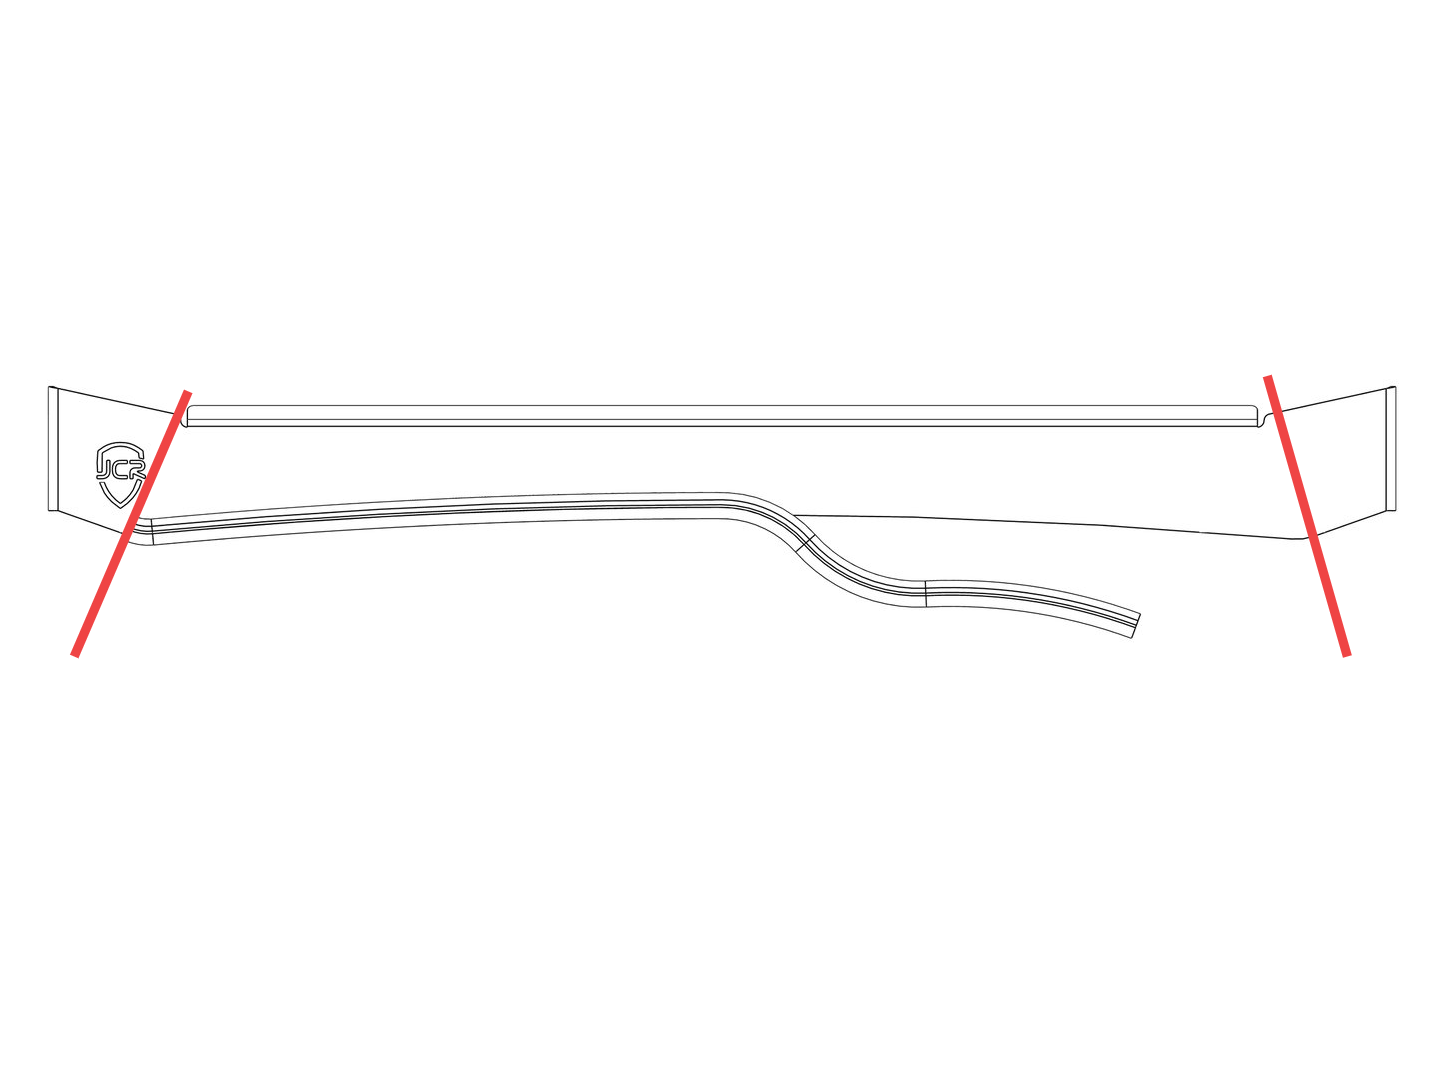
Hold the edge trim along the bottom edge of the front fairing from point to point and cut it to length with tin snips. Pick out any of the aluminum core sticking out of the cut end with pliers so it cannot scratch your paint. Then push the trim on from one end to the other. Save the cut-off piece for the rear fairing. Video timestamp: 11:09


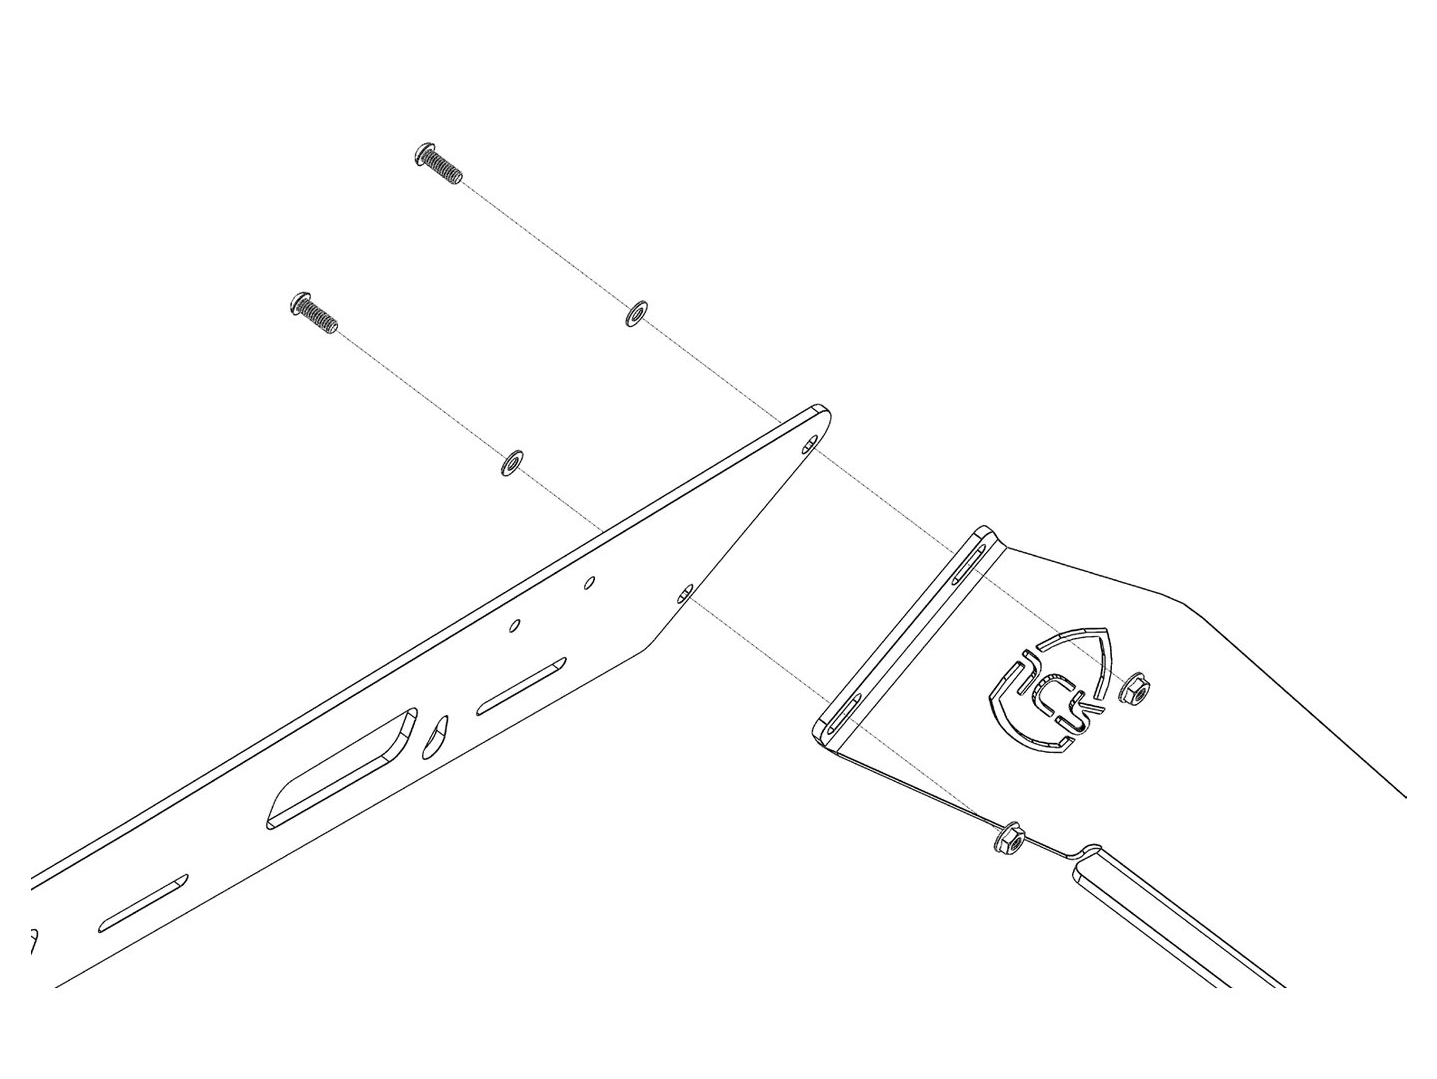
Slide the front fairing in between the side rails. Bolt it through the outside slots and the fairing flange with 1/4 in. button head bolts, washers and flange lock nuts. Video timestamp: 12:19

Push the leftover piece of edge trim onto the center of the rear fairing’s bottom edge. Bolt the rear fairing in the same way as the front, raised all the way up in its slots for plenty of clearance from the roof. Video timestamp: 12:55

The front mounts are side specific and marked L and R. Cut a piece of the small edge trim about 2 in. long and push it onto the bottom edge of each front mount, since this edge sits in the rain channel. Place the mount behind the side rail in the front set of holes and bolt it on with 1/4 in. bolts, washers and nuts. Push it all the way down in its slots so the rack sits as high as possible, then snug the bolts. Video timestamp: 13:53


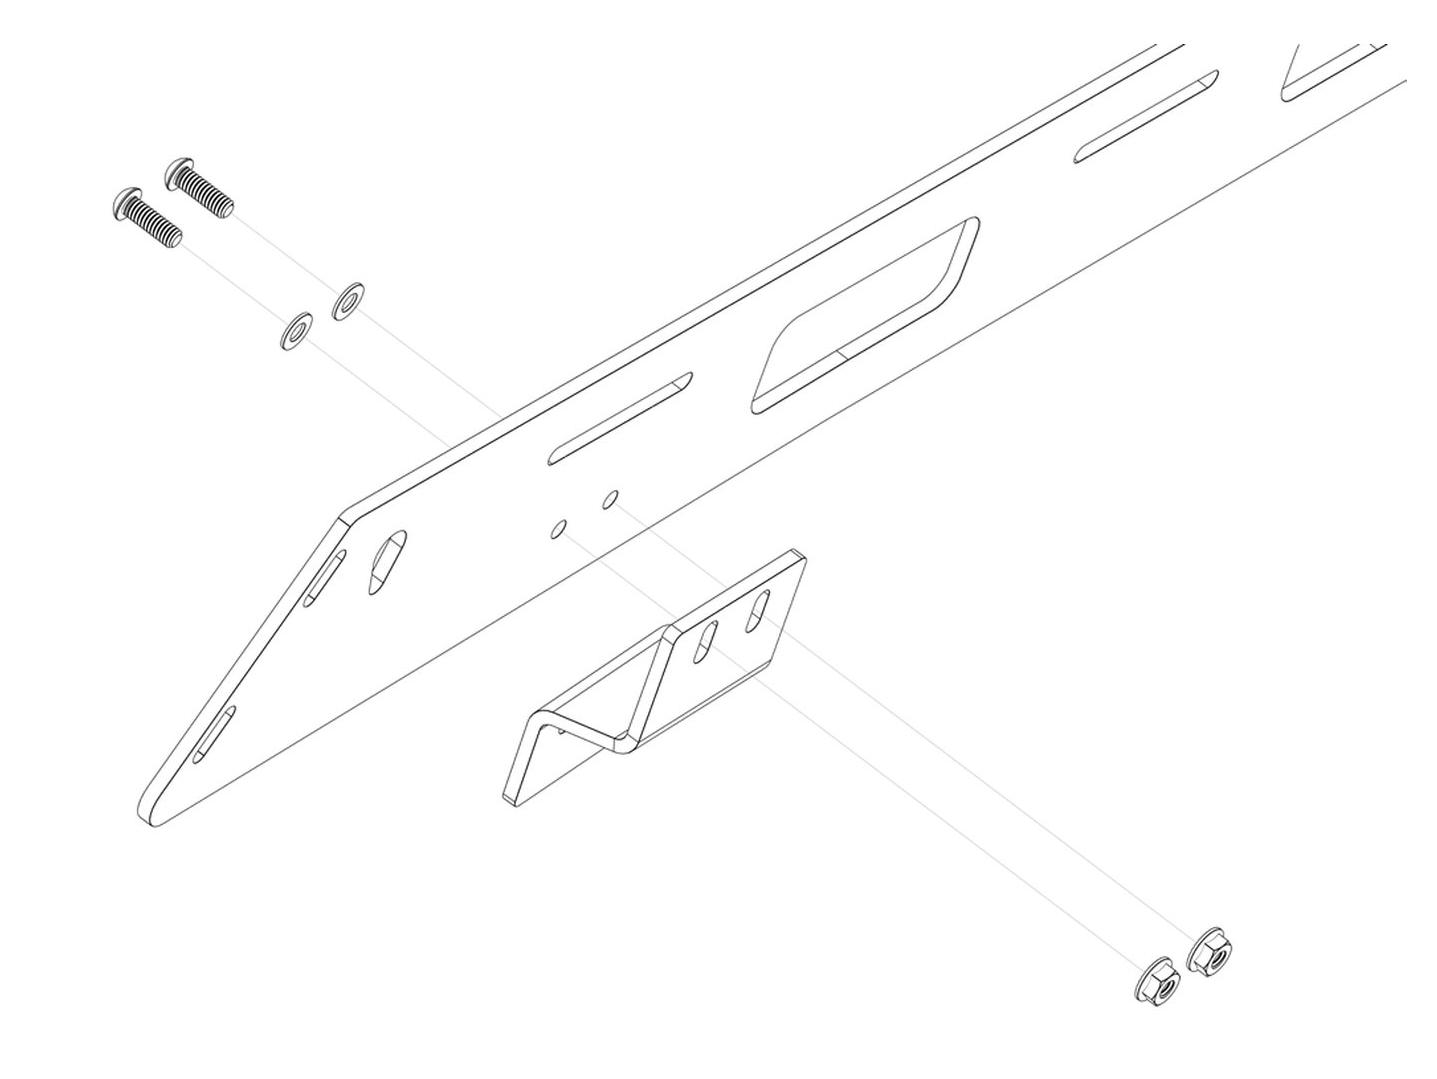
The mid and rear mounts are all the same. Bolt each one to the inside of the side rail with the formed flanges facing up. For the JK, the mid mounts use the further-forward set of holes. Push each mount all the way down in its slots and snug the bolts. Video timestamp: 15:08


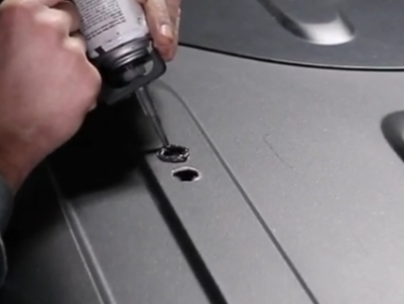
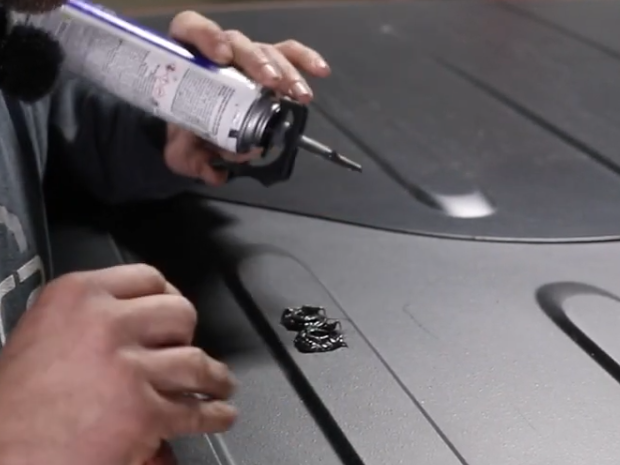
Put a good bead of black RTV around each drilled hole in the roof, then push an aluminum spacer through each hole. Fill any gaps with more RTV, then add a little RTV on top of each spacer so the bracket seals to it. Do this at all 8 holes. Video timestamp: 15:57


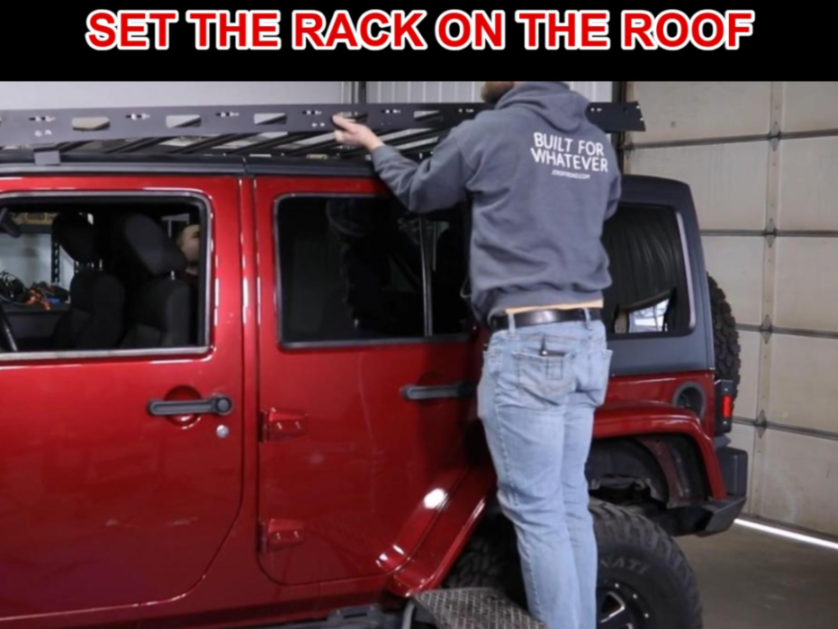
Drop a 3/8 in. mounting bolt through each rear mount to use as a locating pin. With a helper, set the rack on the roof. Make sure the front mounts drop down into the rain channels, then line the rear bolts up with the spacers. Video timestamp: 17:14

6 Min - Guide

2 Min - Guides and Video
10 Min - Guides and Video
Suggest an improvement, or report a bug, direct from the app/platform.
Connect GembaDocs with external systems